How to use the Publii Least Privilege Policy on AWS

This is a supplemental blog post with step-by-step instructions on how to setup the Publii Least Privilege AWS IAM Policy on your AWS account and how to modify your Publii user group to use this policy instead of the AmazonS3FullAccess policy.
If you haven't followed the steps on the Publii page How to host a Static Website on Amazon S3, run through those first and make sure Publii can deploy to S3 without any problems. If everything works, follow these steps next:
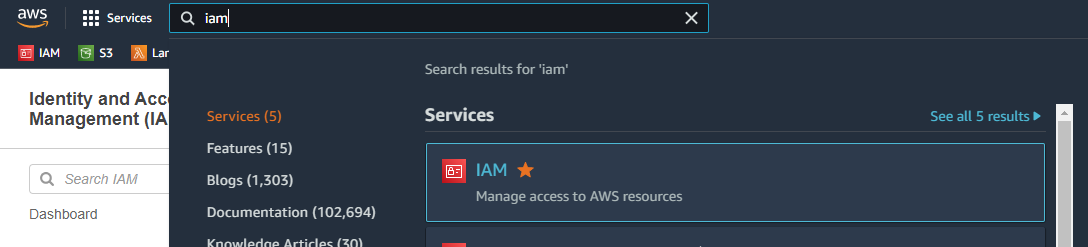
1) Navigate to the the IAM console in AWS. You can type IAM into the search bar and select IAM.
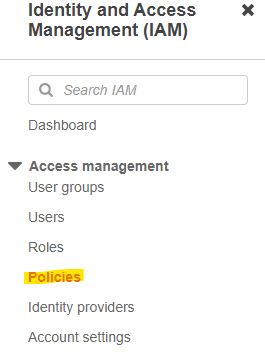
2) Select Policies on the left navigation bar.
3) Click the Create Policy button.

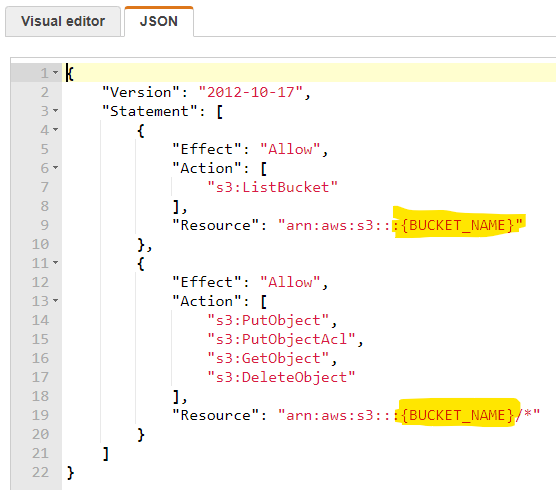
4) Select the JSON tab.

5) Copy the policy below and paste into the box. Replace {BUCKET_NAME} with the name of the S3 bucket you created during step 5 of the Publii documentation. Be careful to replace all of {BUCKET_NAME} including the curly braces. For example, if your bucket is named MY_PUBLII_BUCKET, you'll use arn:aws:s3:::MY_PUBLII_BUCKET instead of arn:aws:s3:::{BUCKET_NAME} for the first resource, and arn:aws:s3:::MY_PUBLII_BUCKET/* instead of arn:aws:s3:::{BUCKET_NAME}/* for the second resource.
{ "Version": "2012-10-17", "Statement": [ { "Effect": "Allow", "Action": [ "s3:ListBucket" ], "Resource": "arn:aws:s3:::{BUCKET_NAME}" }, { "Effect": "Allow", "Action": [ "s3:PutObject", "s3:PutObjectAcl", "s3:GetObject", "s3:DeleteObject" ], "Resource": "arn:aws:s3:::{BUCKET_NAME}/*" } ]} |
6) Click the Next: Tags button at the bottom of the page. You don't need to do anything on the "Add tags" page.
7) Click the Next: Review button.
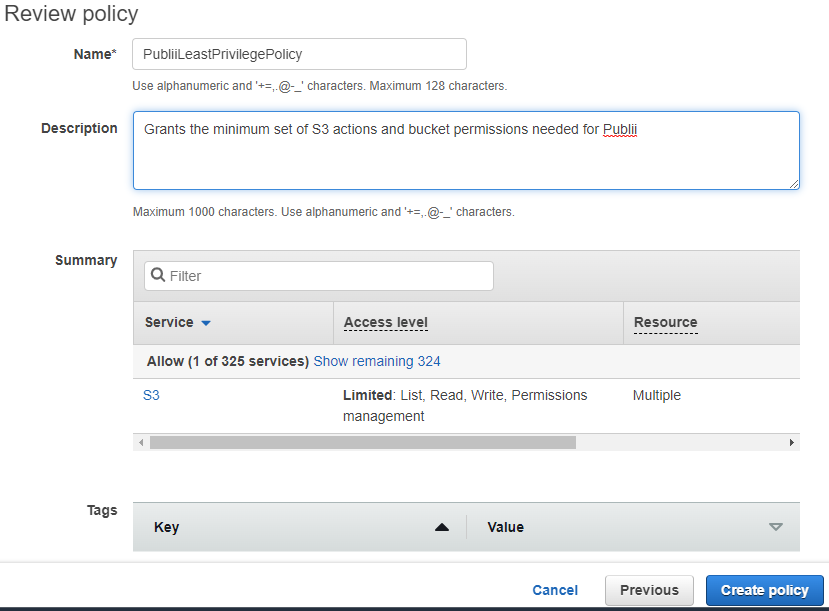
8) Set a name for the policy. I called it PubliiLeastPrivilegePolicy. You can add a description if you'd like, but that is optional. When you're done, click the Create policy button.
Now that you have the policy created, you can assign it to the publii-users group you created during step 17 of the Publii documentation.
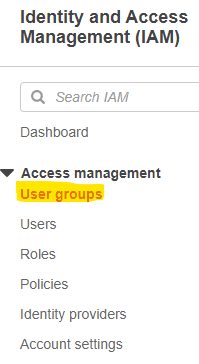
9) Click on User groups on the left navigation bar to go to the groups page.
You should see the publii-users group there.

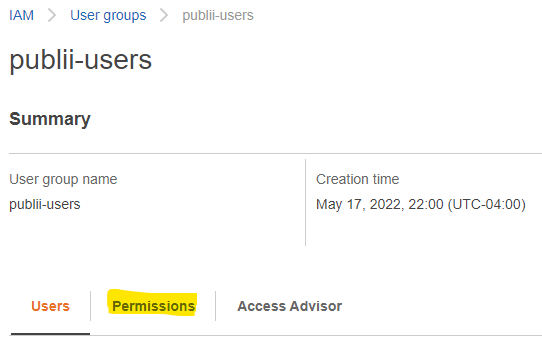
10) Click on the publii-users group link. That will take you to the detail page for that group. Click on the Permissions tab.
11) You should see that the AmazonS3FullAccess policy in the Permissions policies list.
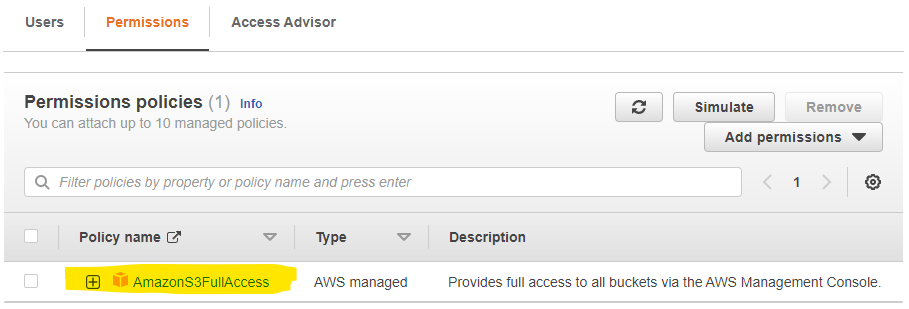
12) Click the check box next to AmazonS3FullAccess to select it. Then, click on the Remove button.

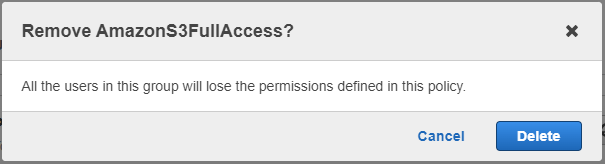
13) A prompt will appear asking if you want to remove AmazonS3FullAccess. Click on the Delete button to confirm.
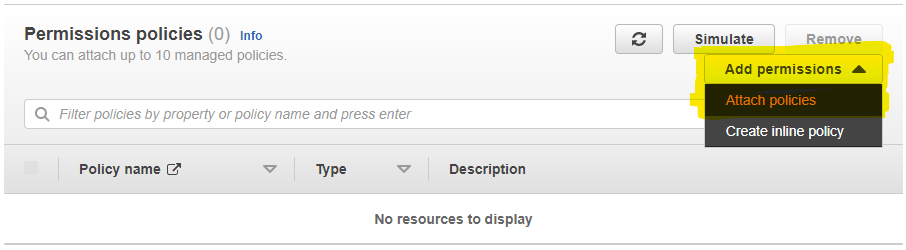
14) The policy page will appear, and you will see that the AmazonS3FullAccess policy was removed. Click on the Add permissions button to expand it. Then, click on Attach policies.
15) A new page will appear with a list of policies. Find the PubliiLeastPrivilegePolicy you created earlier. Click on the check box next to it to select it. Then, click on the Add permissions button.

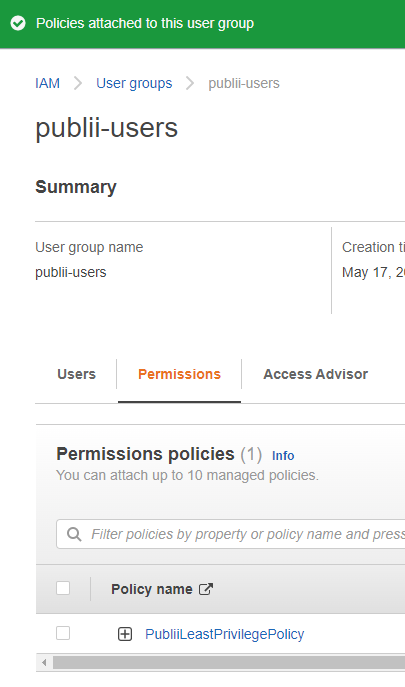
16) That's it! You should see that the policy was attached to the user group, and it's ready to go!
17) Finally, try syncing your site in Publii to S3. You should be able to upload successfully. If not, double-check that you changed the bucket names in the policy from step 5.